
Tools
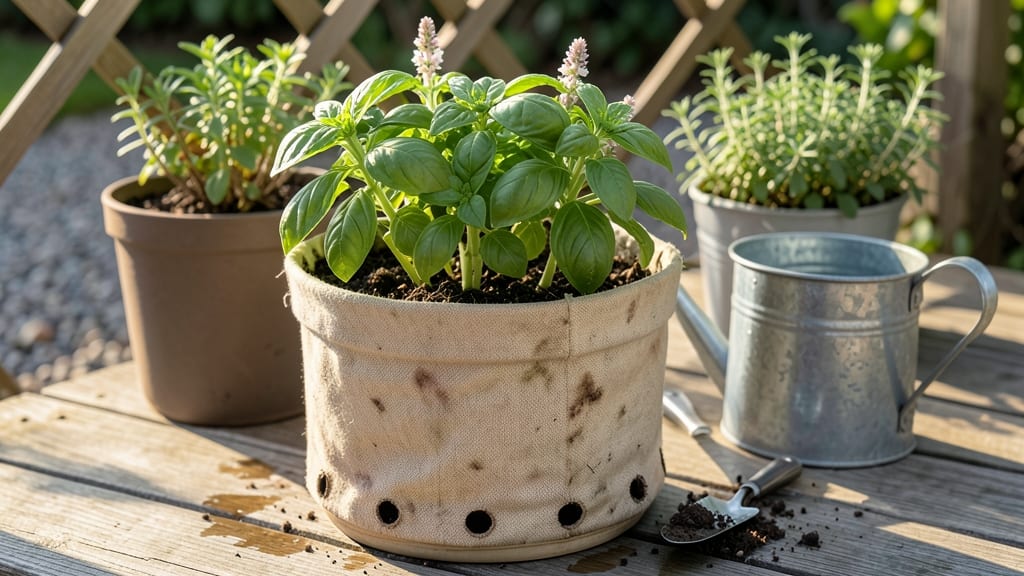
Learning bucket gardening 101 is your ticket to a thriving garden, even in the tiniest of spaces—no sprawling yard required.
Picture this: fresh basil on your windowsill, crisp lettuce for salads, or ripe tomatoes plucked straight from a container on your balcony. The secret? A few simple containers, the right soil, and a little know-how to turn any space into a productive garden.
This isn’t just gardening—it’s gardening on your terms, with zero excuses.
You don’t need a green thumb or a budget to break the bank. With the right setup, you’ll avoid common mistakes like poor drainage or overwatering, and I’ll walk you through every step—from picking the perfect bucket to choosing plants that thrive in containers.
Whether you’re in an apartment or a small backyard, this is how you grow more with less.
Ready to dive in? By the end, you’ll have a foolproof system for planting, caring for, and troubleshooting your bucket garden—so you can enjoy the harvest without the hassle. Let’s get started.
Bucket gardening essentials: choosing the right containers and supplies
Bucket gardening transforms any small space into a productive garden, but your container choices make all the difference. The right materials prevent root rot, maximize space, and ensure your plants thrive. I’ve tested everything from plastic buckets to fabric grow bags—here’s what works best for beginners.
Start with 5-gallon buckets for most vegetables and herbs—they’re the perfect size for root development.
Larger containers (like 7-10 gallons) work for tomatoes or peppers, while smaller ones (3-5 gallons) suit herbs and lettuce. Material matters too: plastic retains moisture longer, while fabric allows better airflow and prevents overwatering.
No matter your container, drainage is the #1 rule. Without it, roots suffocate and your plants drown. Drill ¼-inch holes in the bottom of plastic buckets, or use a drainage tray to catch runoff.
For fabric grow bags, their porous material naturally prevents waterlogging while allowing excess moisture to escape.
Next, soil selection determines your success. Avoid garden soil—it compacts in containers and blocks roots. Instead, mix 60% potting mix with 30% compost and 10% perlite or vermiculite for aeration. For heavy feeders like tomatoes, add a handful of worm castings to boost nutrients.
Don’t overlook essential tools that simplify bucket gardening. A hand trowel helps with planting, a moisture meter prevents over/under-watering, and pruning shears keep plants tidy. A spray bottle is perfect for delicate herbs, while a 5-gallon watering can covers larger containers efficiently.
Lightweight containers (like plastic or fabric) let you move plants to optimize sunlight. Place them near a south-facing window or under grow lights if outdoor space is limited. Rotate containers weekly to ensure even growth—plants lean toward light sources, and this keeps them balanced.
For urban balconies or patios, stackable containers save space. Use c casters on larger buckets to make them mobile. If you’re growing multiple plants, consider a self-watering system like a reservoir bucket with a wick—ideal for vacations or busy schedules.
One common mistake? Skipping sterilization. Clean containers with a 10% bleach solution (1 part bleach to 9 parts water) before planting to kill bacteria or fungi. Rinse thoroughly to avoid harming roots. Label your containers too—plant names fade fast, and you’ll thank yourself later!
Finally, group plants by needs. Herbs like basil and parsley thrive in the same 3-5 gallon container, while tomatoes need 5+ gallons alone. Pair companion plants (like basil with tomatoes) to deter pests naturally. With these essentials, your bucket garden will flourish—no sprawling yard required!
Step-by-step bucket garden setup: from soil to planting
Now that you’ve picked your containers and gathered supplies, it’s time to transform them into thriving gardens. The key to success lies in layering soil correctly and choosing plants that will flourish in your setup.
I’ll guide you through each step, ensuring your bucket garden is ready for planting in no time.
Start by cleaning your containers thoroughly with a 10% bleach solution to prevent disease. Rinse well and let them dry completely before adding soil. This step is non-negotiable—clean containers mean healthier plants and fewer problems down the road.
Your Bucket Garden Setup Checklist
- Step 1: Drill drainage holes in the bottom of your bucket if they aren’t already present. Use a 1-inch drill bit for optimal drainage.
- Step 2: Add a 2-inch layer of gravel or broken pottery at the bottom. This creates a reservoir for excess water and prevents root rot.
- Step 3: Mix potting soil with compost (70% soil, 30% compost) for nutrient-rich growth. Avoid garden soil—it compacts and drains poorly.
- Step 4: Fill the bucket 3/4 full with your soil mix, leaving room for roots to expand. Press lightly to eliminate air pockets.
- Step 5: Plant your starter plants or seeds. For seedlings, dig a hole twice the width of the root ball and place them gently. Cover roots with soil and pat down.
- Step 6: Water thoroughly until water runs out the drainage holes. This ensures the soil settles and roots establish contact with moisture.
- Step 7: Add a 1-inch layer of mulch (like straw or shredded leaves) on top to retain moisture and suppress weeds. Avoid mulching too close to stems.
When selecting plants, prioritize compact varieties like cherry tomatoes, bush beans, or dwarf peppers. These thrive in containers and won’t outgrow your space. For herbs, basil, parsley, and thyme are perfect bucket garden stars.
Place your buckets in a spot with 6+ hours of sunlight daily. Most vegetables and herbs need full sun, while leafy greens like lettuce can tolerate partial shade (4-6 hours of sun). Rotate containers weekly to ensure even growth.
After planting, monitor your soil moisture closely. Containers dry out faster than in-ground gardens, so water when the top 1 inch of soil feels dry. Use a self-watering bucket or wicking system for hands-off care during vacations.
Watch for signs of stress like yellowing leaves or wilting, which often signal overwatering or underwatering. Adjust your care routine based on your plant’s needs—most bucket gardens thrive with consistent moisture and weekly feeding during the growing season.