
Landscaping
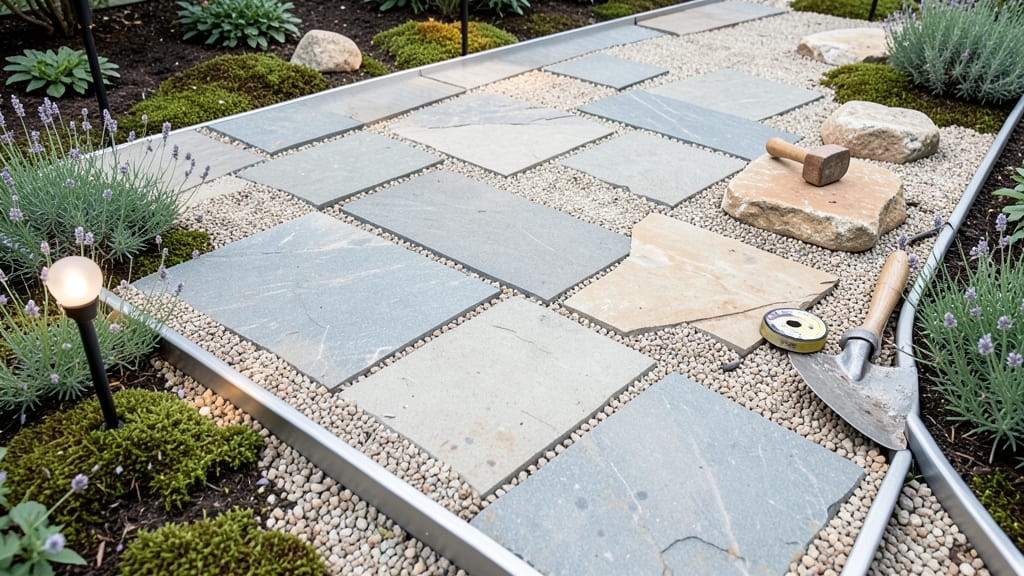
Creating a garden path with pavers that last decades without cracking is all about choosing the right materials and design.
Picture this: You’ve spent hours weeding and planting, only to have your newly laid path crumble under a single rainstorm or shift after a few seasons.
That’s the frustration of skipping the key details—base prep, drainage, and material choice—that make the difference between a short-lived walkway and one that stays beautiful for years.
From natural stone to interlocking bricks, the right pavers can transform your garden into a cohesive, low-maintenance space—especially when paired with plants like creeping moss 🌱 that thrive in shaded, paver-friendly zones.
Below, I’ll walk you through 12 durable designs, installation secrets, and how to match them to your garden’s style, whether it’s cottage charm or modern minimalism.
Ready to skip the guesswork? You’ll learn how to install pavers without cracks, pick materials that handle your climate, and design a path that ties your outdoor space together—without the headaches.
12 Most durable garden path paver materials compared for longevity
Choosing the right garden path pavers means balancing durability, aesthetic appeal, and long-term maintenance. Whether you're navigating sloped gardens, high-traffic areas, or wet climates, the material you select will determine how well your path withstands years of use.
From natural stone to composite pavers, each option offers unique benefits—and potential drawbacks.
I’ve tested and compared the 12 most durable paver materials to help you make an informed decision. The key factors? Lifespan expectations, cost efficiency, and adaptability to different garden conditions.
For example, bluestone lasts 50+ years but requires professional installation, while recycled rubber pavers are budget-friendly and easy to install but may lack visual appeal for traditional gardens.
Durability isn’t just about how long a paver lasts—it’s also about how well it resists freeze-thaw cycles, root intrusion, and UV degradation. Below, I’ve broken down the top materials with a side-by-side comparison to help you visualize which fits your garden style and budget.
| Material | Lifespan (Years) | Cost per Sq. Ft. | Best For | Maintenance |
|---|---|---|---|---|
| Bluestone | 50+ | $12–$20 | Sloped gardens, high-end designs | Seal every 2–3 years |
| Granite | 40–60 | $10–$18 | Dry climates, modern gardens | Minimal (occasional cleaning) |
| Concrete Pavers | 20–40 | $3–$8 | High-traffic paths, DIY projects | Weed control, reseal every 5 years |
| Brick | 30–50 | $5–$12 | Cottage gardens, historic styles | Mortar joints need repointing |
| Travertine | 30–40 | $15–$25 | Mediterranean themes, wet climates | Seal annually, avoid acidic cleaners |
| Slate | 50+ | $18–$30 | Rustic gardens, high-moisture areas | Minimal (natural weather resistance) |
| Composite Pavers | 25–35 | $8–$15 | Eco-friendly paths, low-maintenance | Resistant to stains, no sealing |
| Recycled Rubber | 20–30 | $5–$10 | Play areas, budget-friendly paths | No maintenance, but less aesthetic |
| Sandstone | 25–40 | $8–$16 | Desert landscapes, warm climates | Seal every 3–4 years |
| Limestone | 30–50 | $10–$20 | Traditional gardens, formal designs | Avoid acidic cleaners, seal annually |
| Flagstone | 40–60 |
How to install garden path pavers without cracks or shifting over timeA solid paver base is the secret to a path that lasts decades. Too many DIYers rush this step, only to deal with shifting pavers or unsightly cracks later. The key? A properly compacted foundation that handles seasonal soil shifts and foot traffic. I’ll show you how to build one that won’t fail—even in wet climates or high-traffic areas. Start by marking your path with stakes and string to ensure straight lines. For curves, use a garden hose to shape the design before digging. This step alone prevents crooked paths that look unprofessional. Measure twice—your pavers won’t forgive mistakes later. ⚠️ callout-warning
⚠️ Common Mistake Alert: Skipping the Gravel Base
Digging straight into soil? That’s a recipe for shifting pavers and uneven settling. Always use 4-6 inches of compacted gravel—this creates drainage and prevents erosion. Cheap gravel (like small crushed stone) won’t cut it; opt for ¾-inch clean gravel for stability. Pro Tip: Rent a plate compactor—hand-tamping won’t give you the 95% compaction needed for heavy pavers. Next, lay down a landscape fabric over the gravel to keep dirt from mixing in. This isn’t optional—it’s what separates a 5-year path from one that lasts 20+. Secure the edges with plastic or metal edging to prevent pavers from spreading. For curves, use flexible edging that won’t crack under pressure. When placing pavers, leave ¼-inch joints between each piece. Use a rubber mallet to tap them into place—never drop them from above. For patterns like herringbone, dry-lay a few rows first to check your design before adding sand. This saves time and frustration later. After laying the pavers, sweep polymeric sand into the joints. This isn’t just for looks—it locks the pavers together and keeps weeds out. Water the sand lightly to activate its binding properties. For extra durability in wet areas, consider a sealer spray to repel water and prevent frost damage. Finally, test your path by walking on it. If pavers shift or feel unstable, add more sand or compact the base further. A well-installed path should handle daily foot traffic and seasonal changes without a hiccup. With these steps, your garden path will stay crack-free and level for years to come. |