
Picking
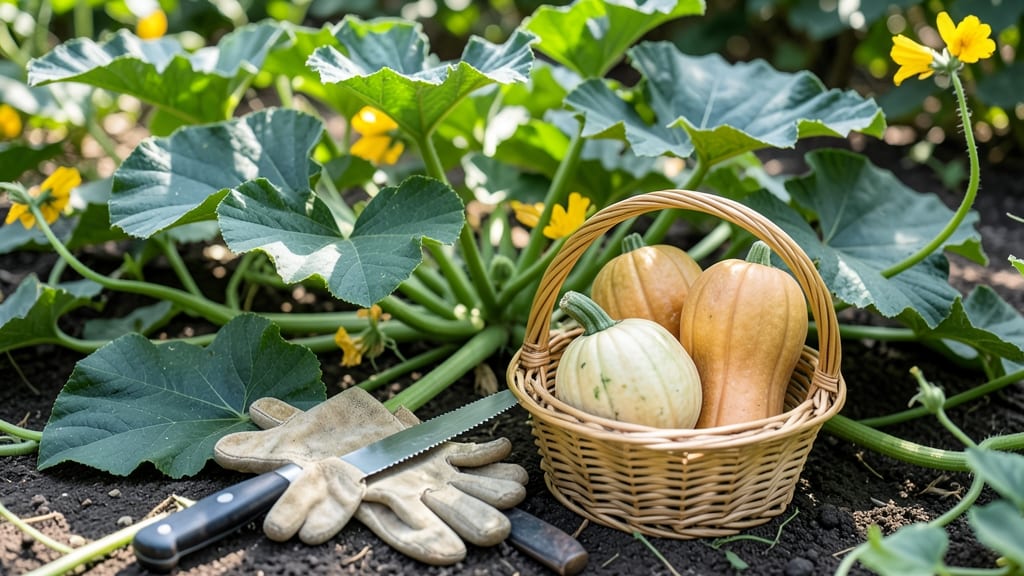
To pick butternut squash from your garden at the perfect moment, you’ll need to watch for three key signs: skin color, stem changes, and rind hardness 🎃—because harvesting too early means bland flesh, and waiting too long risks frost damage.
Picture this: a squash that’s dull orange instead of shiny, with a stem that’s dried and shriveled where it meets the fruit. That’s your cue—ignore it, and you might end up with a tough, stringy mess that won’t store well.
Even worse, if you miss the window, a late frost can turn your hard work into a mushy disappointment.
But here’s the good news: timing it right isn’t just about guesswork. Below, I’ll walk you through the exact visual cues to look for, how to test ripeness with a simple thumb press, and the best time of day to harvest for maximum flavor and shelf life.
You’ll also learn how to adjust for your planting date—whether you started seeds in April or June—and how to store your harvest so it lasts through winter. No more second-guessing, just perfect squash every time.
3 Visual signs your butternut squash is perfectly ripe for harvesting
Butternut squash is one of those garden gems that rewards patience with unmatched sweetness and long-term storage. But how do you know when your homegrown butternut squash has reached peak ripeness?
Picking too early means watery, bland flesh, while waiting too long can result in overripe, tough skin. The secret lies in these three key visual cues that tell you it's time to harvest.
First, let's address the most common question: Can you eat butternut squash that's not fully ripe? Technically, yes—but it won't have that rich, nutty flavor or tender texture you crave.
Fully ripe squash stores better too, lasting 2-3 months in cool, dry conditions. That's why mastering these visual ripeness signals is your ticket to harvest perfection.
🌱 Numbered Highlights: 3 Visual Cues for Perfect Harvest
- 1
- 2
- 3
Let's start with the most obvious clue: skin color changes. When your butternut squash first appears, it's often green or pale yellow. As it matures, the color deepens to a dull tan or orange-brown, especially near the stem.
This color shift indicates full sugar development inside. Pro tip: The stem end usually ripens first, so check there first if you're unsure.
Next, examine the stem attachment. A ripe squash will show a noticeable shrinkage where the stem connects to the fruit. This happens because the plant stops supplying nutrients, signaling maturity. If the stem is still green and flexible, your squash needs 10-14 more days on the vine.
I've learned the hard way that ignoring this sign leads to underripe squash with poor storage life.
Don't overlook the rind hardness test, which is my foolproof method for determining ripeness. Use your thumbnail to press the skin near the stem. If it doesn't leave a dent, your squash is ready. For unripe squash, you'll easily puncture the skin.
This test works best in morning sunlight when the skin is firmest. Remember, the harder the rind, the longer it stores—up to 3 months in cool conditions.
Here's a common mistake I see: harvesting based on size alone. While butternut squash typically grows 18-24 inches long, some varieties stay small but still ripen perfectly.
Always combine size with the three visual cues above. For example, a small butternut squash with dull skin and hard rind is ready—don't wait for it to grow bigger.
Seasoned gardeners often ask about harvest timing after flowering. Butternut squash takes 90-100 days from transplant to maturity, but exact timing depends on your USDA zone. In Zone 6a, I aim to harvest between late September and mid-October.
The key is to watch for the visual cues rather than relying on a calendar, as weather variations affect growth rates.
One final pro tip: Harvest on a dry morning after the dew has evaporated. This prevents soil contamination and makes the squash easier to handle. Use a sharp knife or pruners to cut the stem, leaving 1-2 inches of stem attached to the squash.
This stem attachment helps the squash cure properly and store longer.
By mastering these three visual signs, you'll consistently harvest perfectly ripe butternut squash with optimal flavor and storage life. The next time you're debating whether to pick that squash, remember: dull skin, shrunken stem, and hard rind mean it's time to celebrate your harvest! 🎃
How to test butternut squash ripeness: the seed and skin tricks
When your butternut squash reaches the perfect ripeness, you’ll notice a few key changes that go beyond just size.
The seed cavity inside the squash is one of the most reliable indicators—it should be fully developed, with brown, papery seeds instead of the white, undeveloped ones you’d see earlier in the season.
Don’t overlook the skin color either. A ripe butternut squash will have a dull, matte orange hue, not the shiny green or yellow-green you might see when it’s still maturing. This dullness is a sign the sugars have fully developed, giving you that sweet, nutty flavor we all love.
If you’re still unsure, try the thumb press test. Press your thumbnail into the skin near the stem—if it doesn’t leave a dent, your squash is ready. This test works because the skin hardens as the squash matures, making it resistant to pressure.
One mistake I’ve seen gardeners make is waiting until the squash looks too large or heavy. While size can be a factor, it’s not the only clue.
A large but soft squash is often overripe and past its prime. Always combine size with the skin and seed tests for the best results.
Once you’ve confirmed ripeness, harvest your butternut squash using a sharp knife or pruners, leaving a 1-inch stem attached. This helps the squash cure properly and last longer in storage. Store them in a cool, dry place with good airflow—this keeps them fresh for months.
Remember, the goal is to pick your squash when it’s at its peak flavor and texture, not before or after. With these tricks, you’ll never second-guess your harvest again! 🎃