
Picking
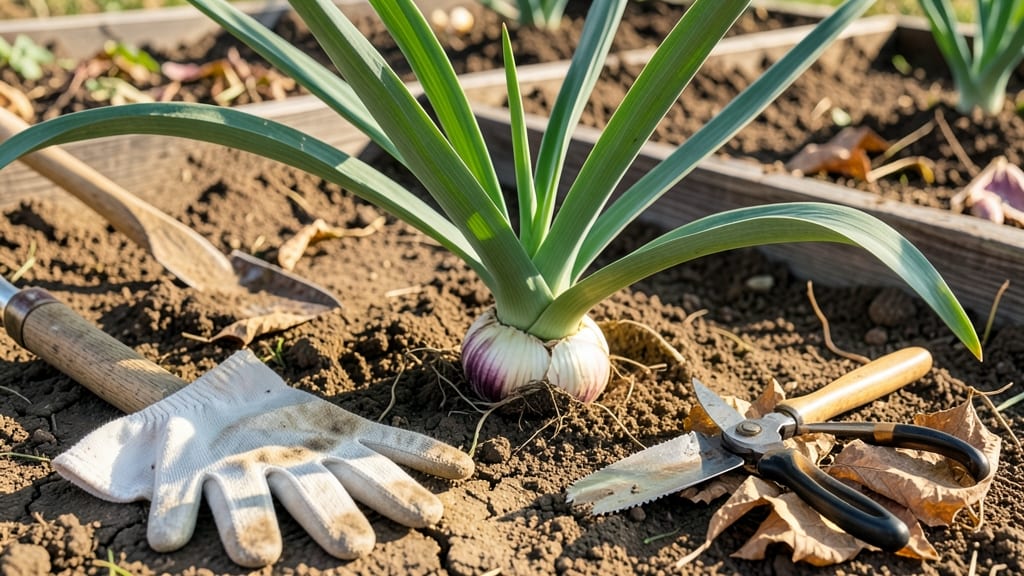
To pick garlic from your garden at the perfect time means catching it when the bulbs are plump, the leaves crisp, and the flavor is at its peak—before they rot in the soil or lose their potency.
Garlic lovers know that timing is everything—pick too early, and you’ll miss out on flavor; wait too long, and your harvest may spoil. Mastering the perfect moment to harvest garlic can mean the difference between a pantry full of plump bulbs and a wasted season.
Look for browning lower leaves and bulbs that feel firm when gently squeezed—these are the clearest signs your 🧄 is ready. In Zone 6a, that’s usually late June to July for spring-planted varieties, but climate shifts everything.
Below, I’ll walk you through how to check for readiness, avoid common mistakes, and store your harvest for months—so you never waste another bulb again.


How to identify garlic ready for harvest by leaf color changes
Harvesting garlic at the right time ensures maximum flavor and storage life. The most reliable indicator is leaf color changes, which signal bulb maturity. Unlike many vegetables, garlic doesn't ripen after picking, so timing is critical.
I've learned that browning leaves are nature's way of telling you it's time to harvest—but not all brown means "go!"
Start observing your garlic plants about 70-80 days after planting (earlier for hardneck varieties). The first sign is when the lower leaves begin yellowing and curling. This stage shows the bulb is developing, but it's not yet ready.
Pay close attention—this is where most gardeners make mistakes by pulling too soon or too late.
I've harvested garlic in USDA Zone 6a for years, and I can tell you that leaf color progression is your best friend. The transition from green to brown isn't instant—it's a gradual process that tells you exactly when to act.
Let me walk you through the exact stages you should watch for:
- 1 Stage 1: Lower leaves yellow (50-60 days) – Not ready. Bulbs are small; leaves still green at the top. Wait for more browning.
- 2 Stage 2: 30% brown at base (60-70 days) – Early warning. Bulbs are forming but not fully developed. Check bulb size next.
- 3 Stage 3: 50% brown leaves (70-80 days) – Ideal harvest window. Bulbs are firm; tops are still green but drying. This is your sweet spot for storage garlic.
- 4 Stage 4: 70%+ brown (80-90 days) – Late harvest. Bulbs are mature but may split if rained on. Best for immediate use (braiding or cooking).
- 5 Stage 5: 100% brown/crispy (90+ days) – Overripe. Bulbs may shatter or sprout. Only harvest if you need immediate use or live in wet climates.
The critical harvest window is when you see 50% of the leaves browned at the base (Stage 3). At this point, the bulb is fully formed but still protected by the drying foliage.
I always test by gently squeezing the bulb—if it feels firm and solid, it's ready. If it's soft or spongy, wait another week.
For hardneck varieties (like Rocambole or Purple Stripe), harvest slightly earlier when the scapes appear and the lower leaves start browning.
These varieties mature faster and develop flavor compounds as they near harvest. Softneck varieties (like Silverskin) can wait until 70-80% of leaves are brown—they store longer and are often braided for hanging.
One mistake I see often is waiting until the entire plant is brown and crispy. By then, the bulbs may have split or sprouted, especially in humid climates.
The paper skin around the bulb should be dry and papery—this protects against rot during storage. If it's still moist, your garlic isn't ready yet.
Climate plays a huge role in leaf color timing. In hot, dry regions, leaves brown faster (sometimes in as little as 60 days). In cool, wet climates, you might need to wait until 90 days or longer.
I've found that morning harvests after dew has dried reduce the risk of fungal issues, especially if leaves are damp.
Pro tip: If you're unsure, dig up one bulb to check. Cut through the stem—if you see a fully formed bulb with tight cloves, your garlic is ready.
If the cloves are loose or the bulb is small, wait another week. This simple test saves me from harvesting too early every season.
Remember, garlic bulbs won't get sweeter after harvest—they'll only deteriorate faster. Once you've pulled the right ones, cure them properly in a dry, shaded area for 2-4 weeks to develop their full flavor. The leaf color cues are your garden's way of saying, "Now or never!"
Optimal garlic bulb size to harvest for maximum flavor and storage
When harvesting garlic, bulb size is your secret weapon for flavor and storage success. The ideal harvest window occurs when bulbs reach 2-3 inches in diameter—this ensures peak flavor without over-maturity.
Smaller bulbs (under 1.5 inches) lack full development, while oversized ones (over 3.5 inches) often split or spoil faster.
Hardneck varieties like ‘Music’ or ‘German White’ typically produce larger cloves but harvest earlier—aim for 1.5-2.5 inches. Softneck types such as ‘Silverskin’ or ‘Artichoke’ mature slower, so wait until they hit 2.5-3.5 inches for maximum storage potential. Size matters because larger bulbs store longer and deliver more robust flavor.
To measure accurately, gently dig up a test bulb and compare it to a ruler. The basal plate (bottom) should be fully formed with dry, papery skin.
If the bulb feels soft or the skin is still moist, wait 1-2 weeks—underripe garlic won’t store well. Overripe bulbs (brown, shriveled) lose their potency and may rot.
Why does size matter so much? Larger bulbs store longer because their dry outer skins protect against moisture loss. Smaller bulbs lack this protective layer, making them prone to spoilage. For example, a 3-inch ‘Silverskin’ bulb can last through winter, while a 1-inch underdeveloped bulb might shrivel in weeks.
Pro tip: Harvest on a dry, sunny day to speed drying. Trim leaves to 2 inches above the bulb and cure in a shady, well-ventilated area for 2–4 weeks. This preserves size and flavor while preventing mold. Avoid washing bulbs until ready to use—moisture shortens shelf life dramatically.
If you’re unsure, dig up one test bulb per variety. Cut it open to check for fully formed cloves and a dry basal plate. This simple check saves your entire harvest from spoilage or underperformance. Remember: perfect timing turns garden garlic into pantry gold.